

Creating a Facebook Business Account
To activate your official WhatsApp number using an authorized provider, you need to create an account in Facebook Business Manager (the owner of WhatsApp) and verify your account. This way, WhatsApp ensures that your business actually exists, preventing fraud in your name or on behalf of other companies.This step may also be useful in the future if you use other Facebook products for your business. We suggest creating and verifying your business as soon as possible—rest assured, this procedure is free and does not require a credit card. This process is mandatory. It is required for Facebook to confirm that you are indeed a legal representative of your company. Once verified, we will be able to set up your official WhatsApp business API account.
Business Manager
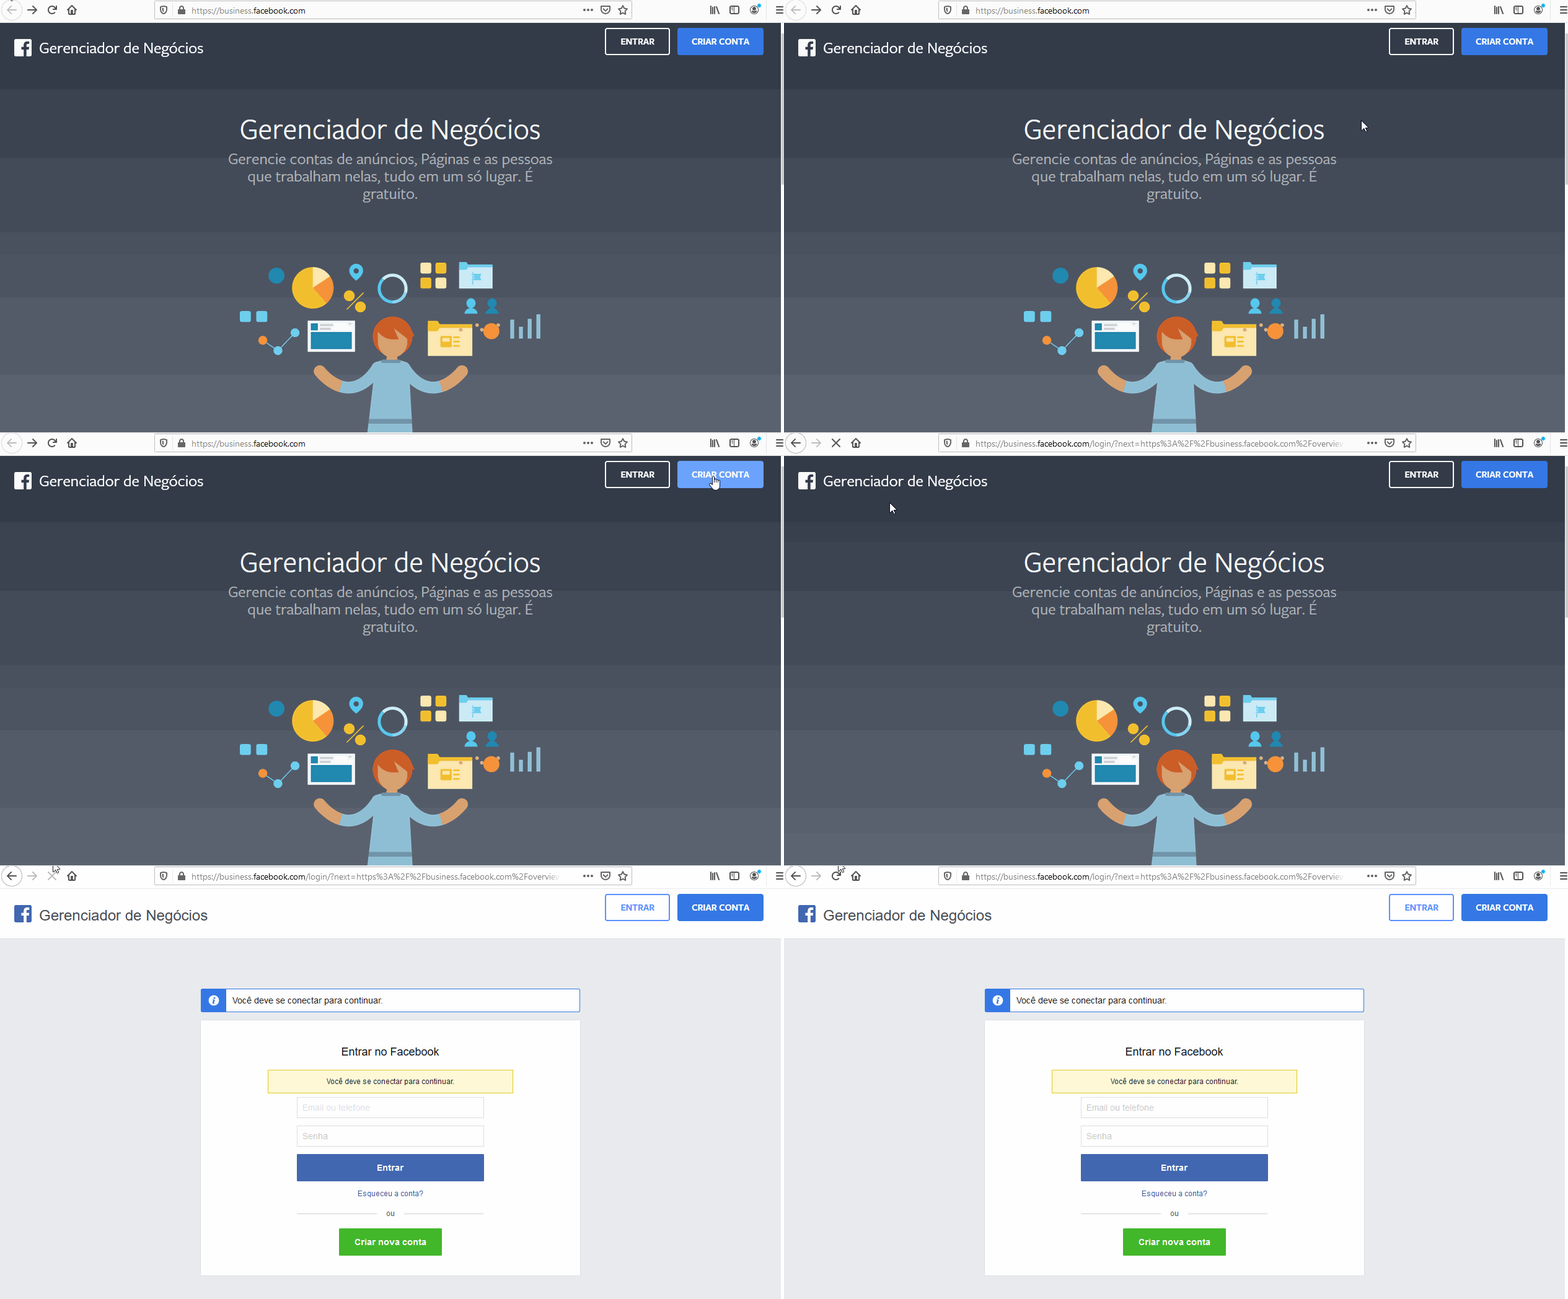
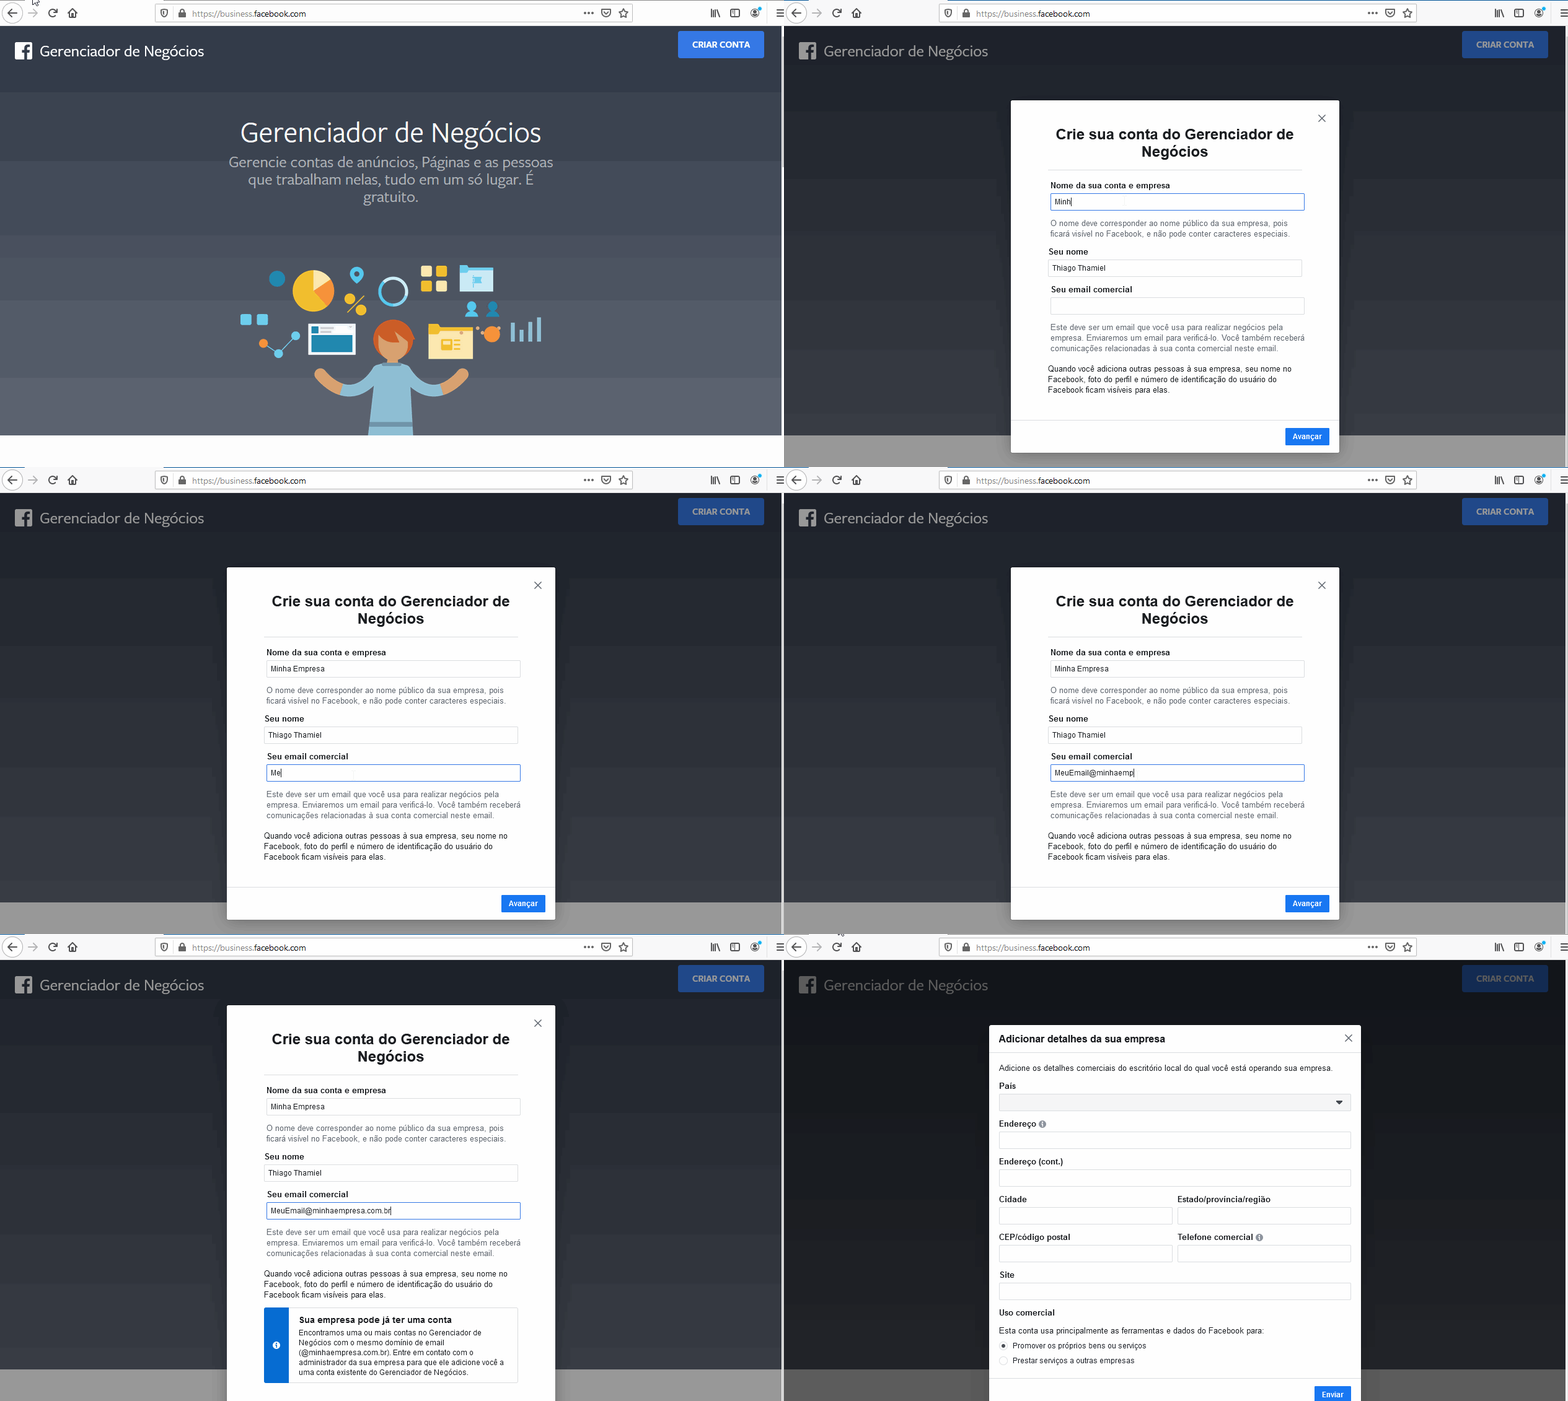
- Access https://business.facebook.com/ and create your account for free.
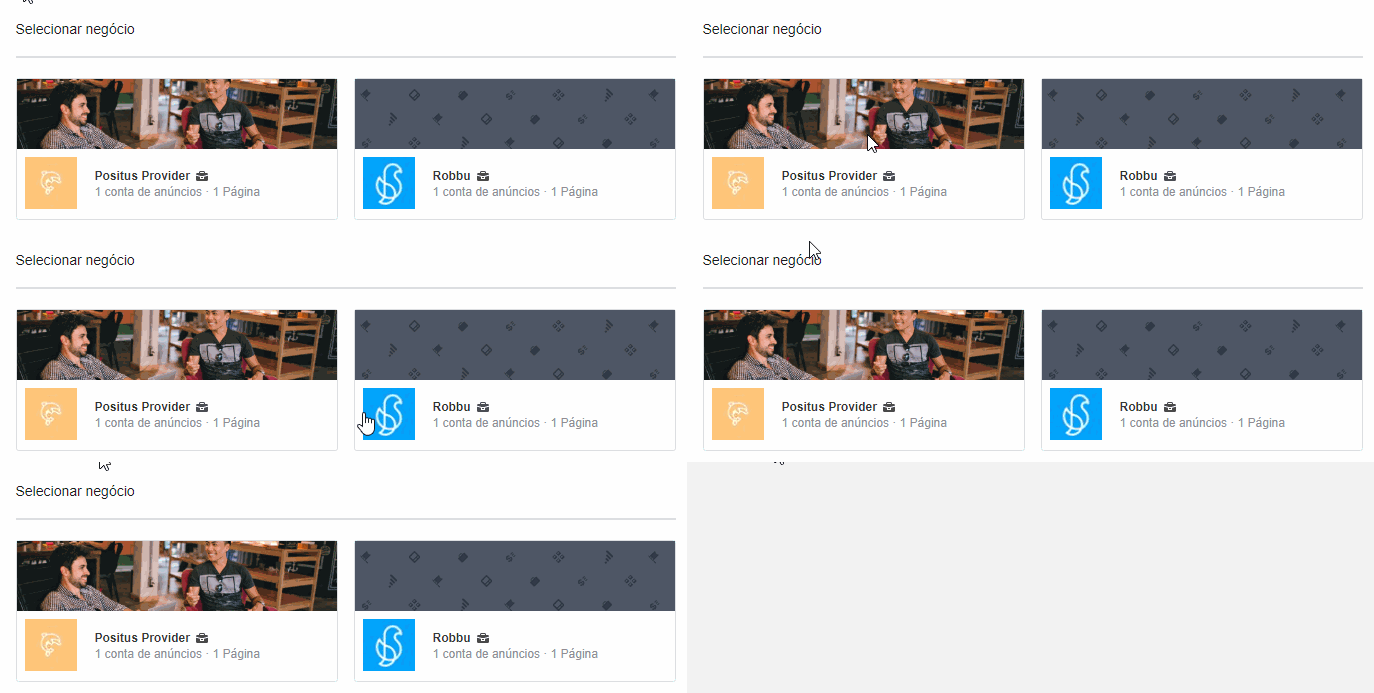
- If you manage more than one business, select the specific business where you want to activate the WhatsApp number.
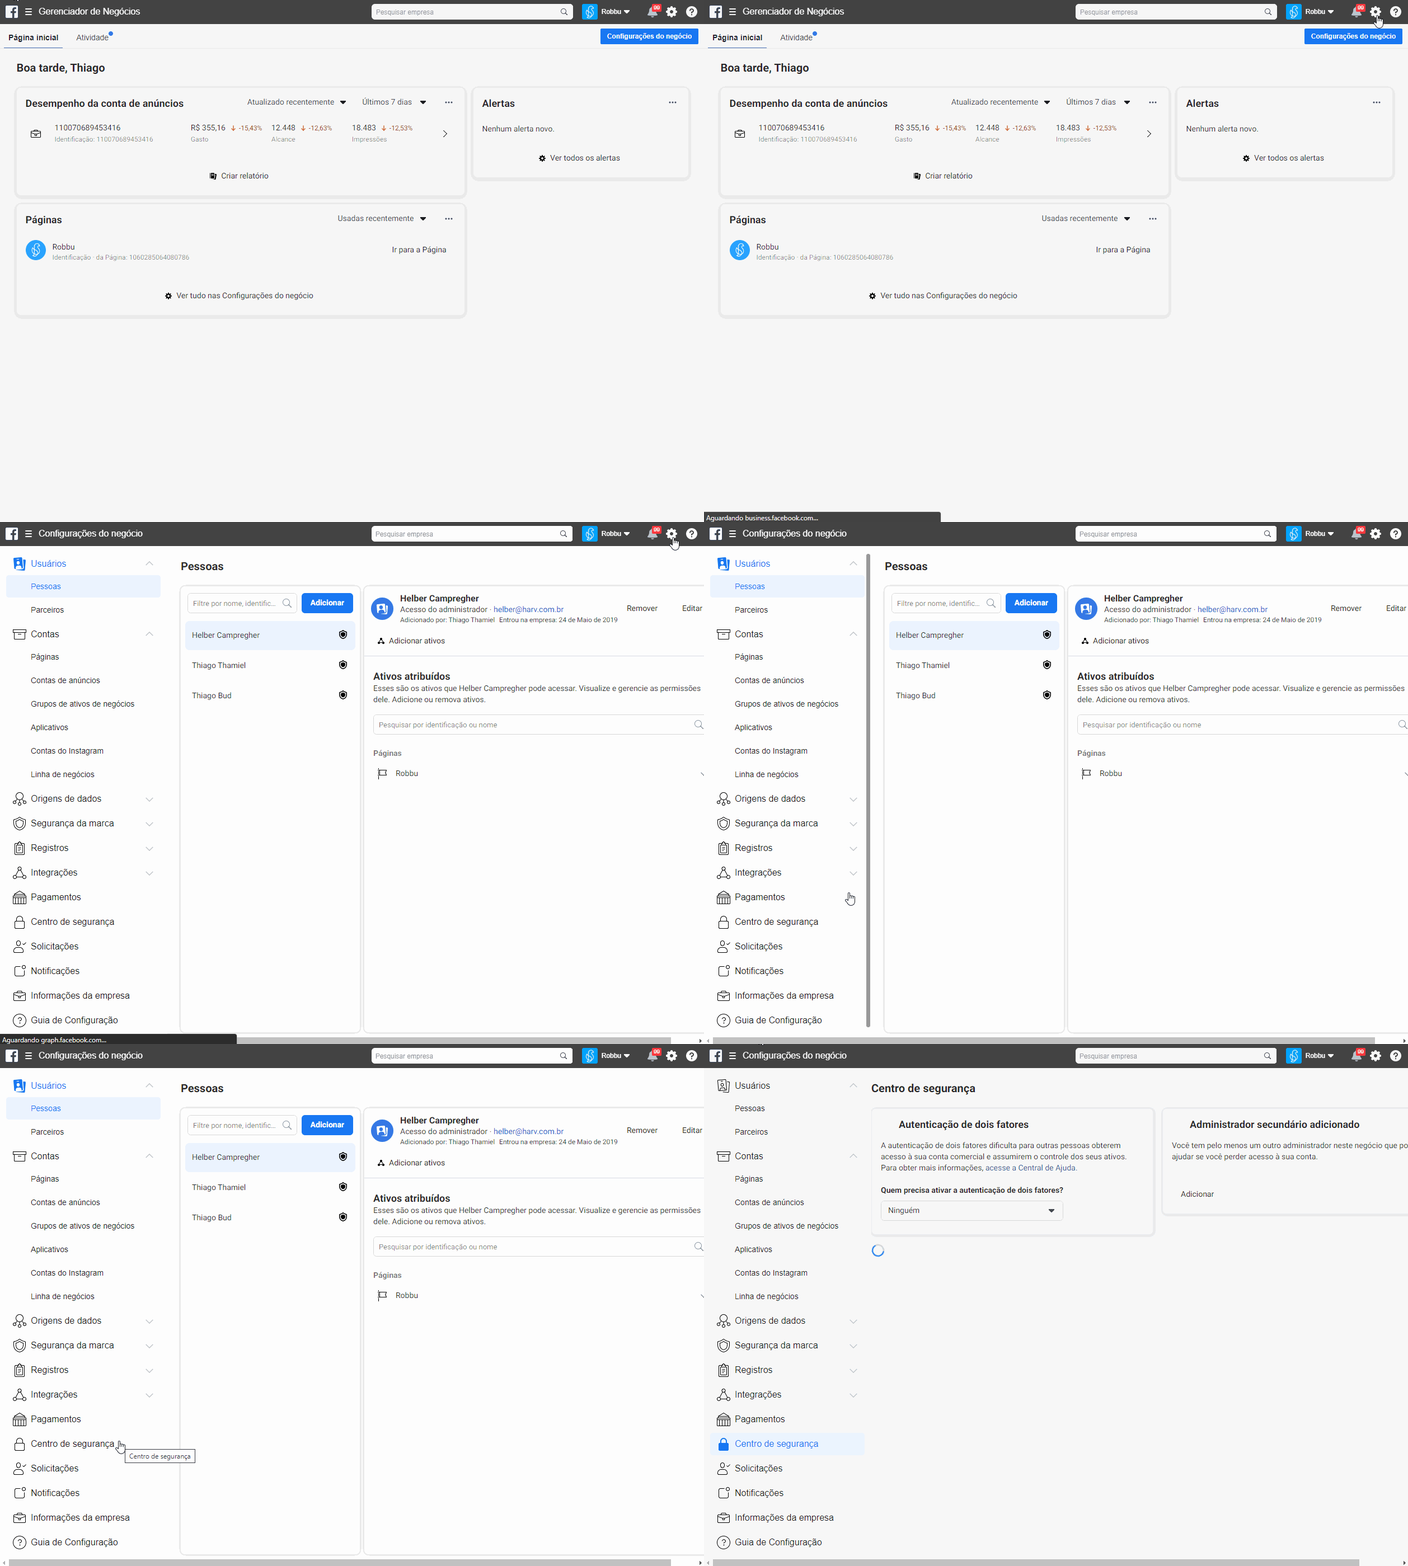
- Navigate to the upper menu, click on “Business Settings”, and then click on “Security Center”.
- If the “Start Verification” button is grayed out/disabled, follow the next step; otherwise, you can skip the next section by clicking here.
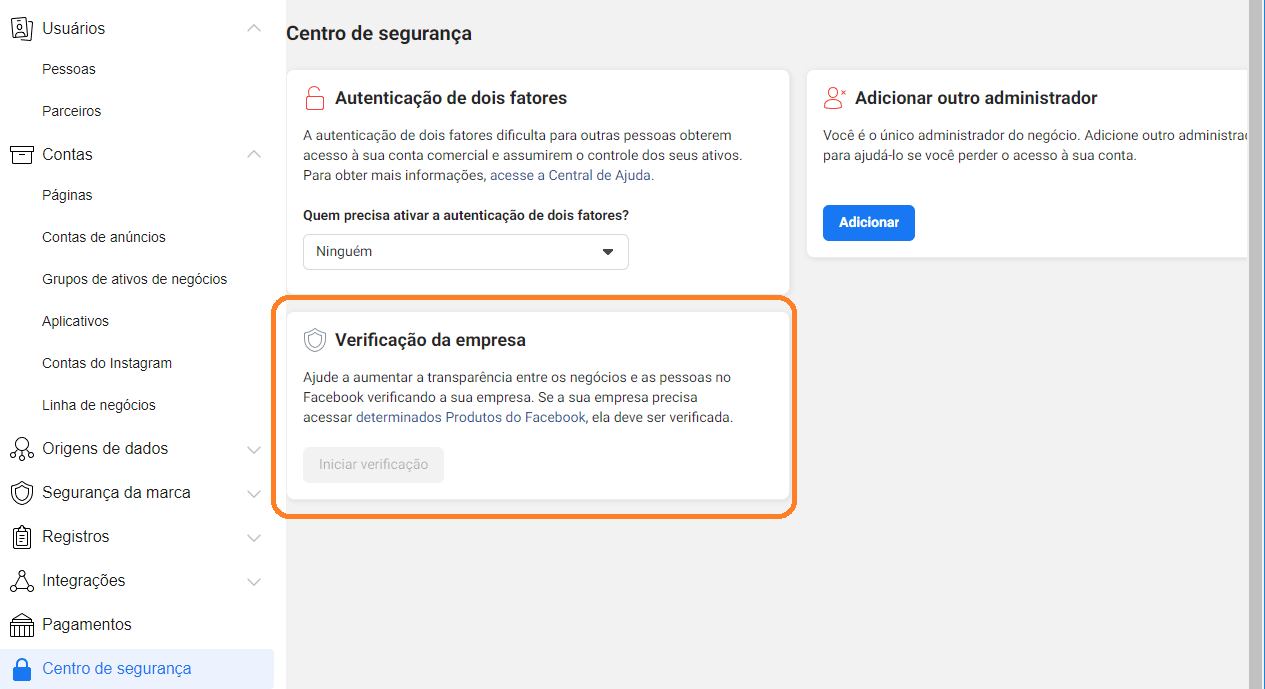
Enabling the Business Verification Button
Access http://developers.facebook.com/ and create your account following the on-screen instructions. Create an app (you can use any name for your app). After creating your app, copy the App ID code.
After adding your app, you need to refresh your page to enable the “Start
Verification” button. Press F5 on your keyboard to reload.

Verifying My Business
Follow the on-screen instructions. This step is extremely important and you must provide real information only; otherwise, your account will not be verified.You do not need to be the owner or partner of the company to complete this step, but certain documents might be requested, and you will need to ask the responsible managers for them.
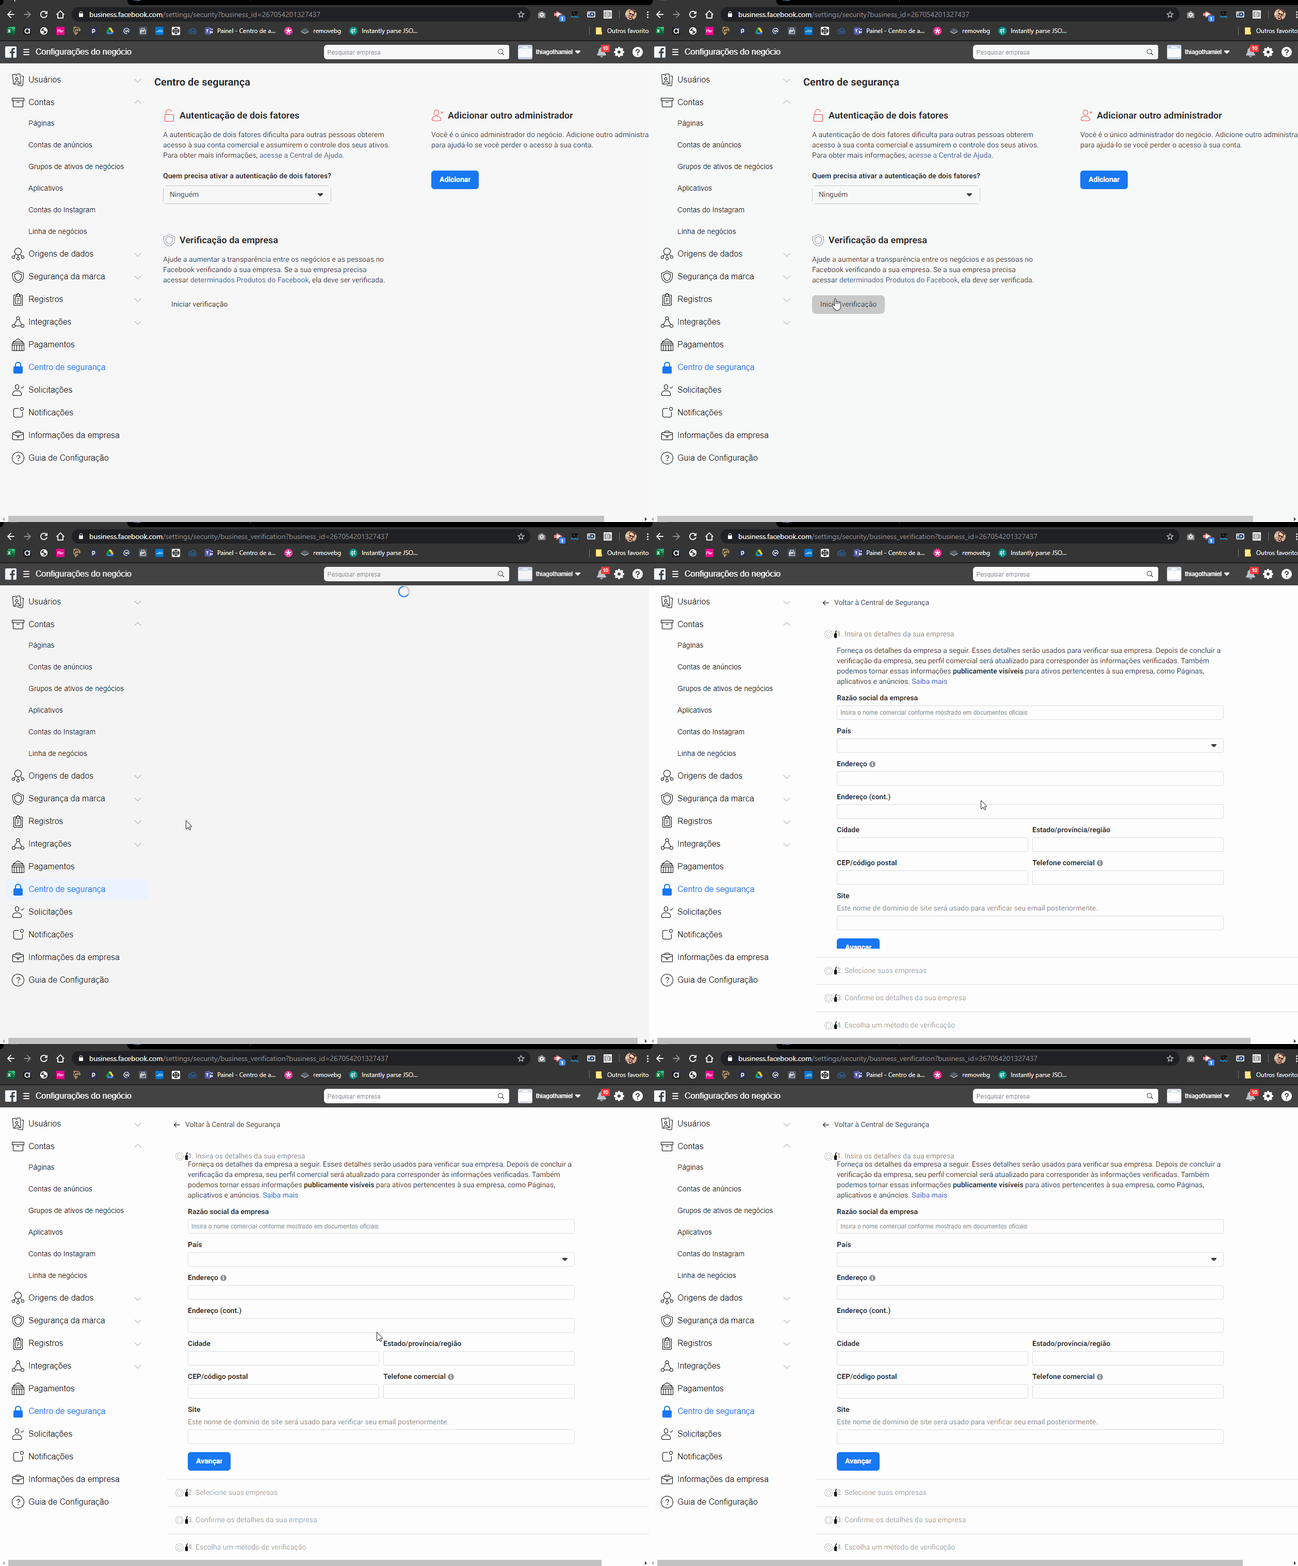
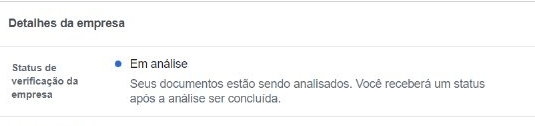
This procedure typically takes 1 to 7 days. If it exceeds this period, we
suggest contacting Facebook Support at
https://www.facebook.com/business/help/support
or reaching out to us.
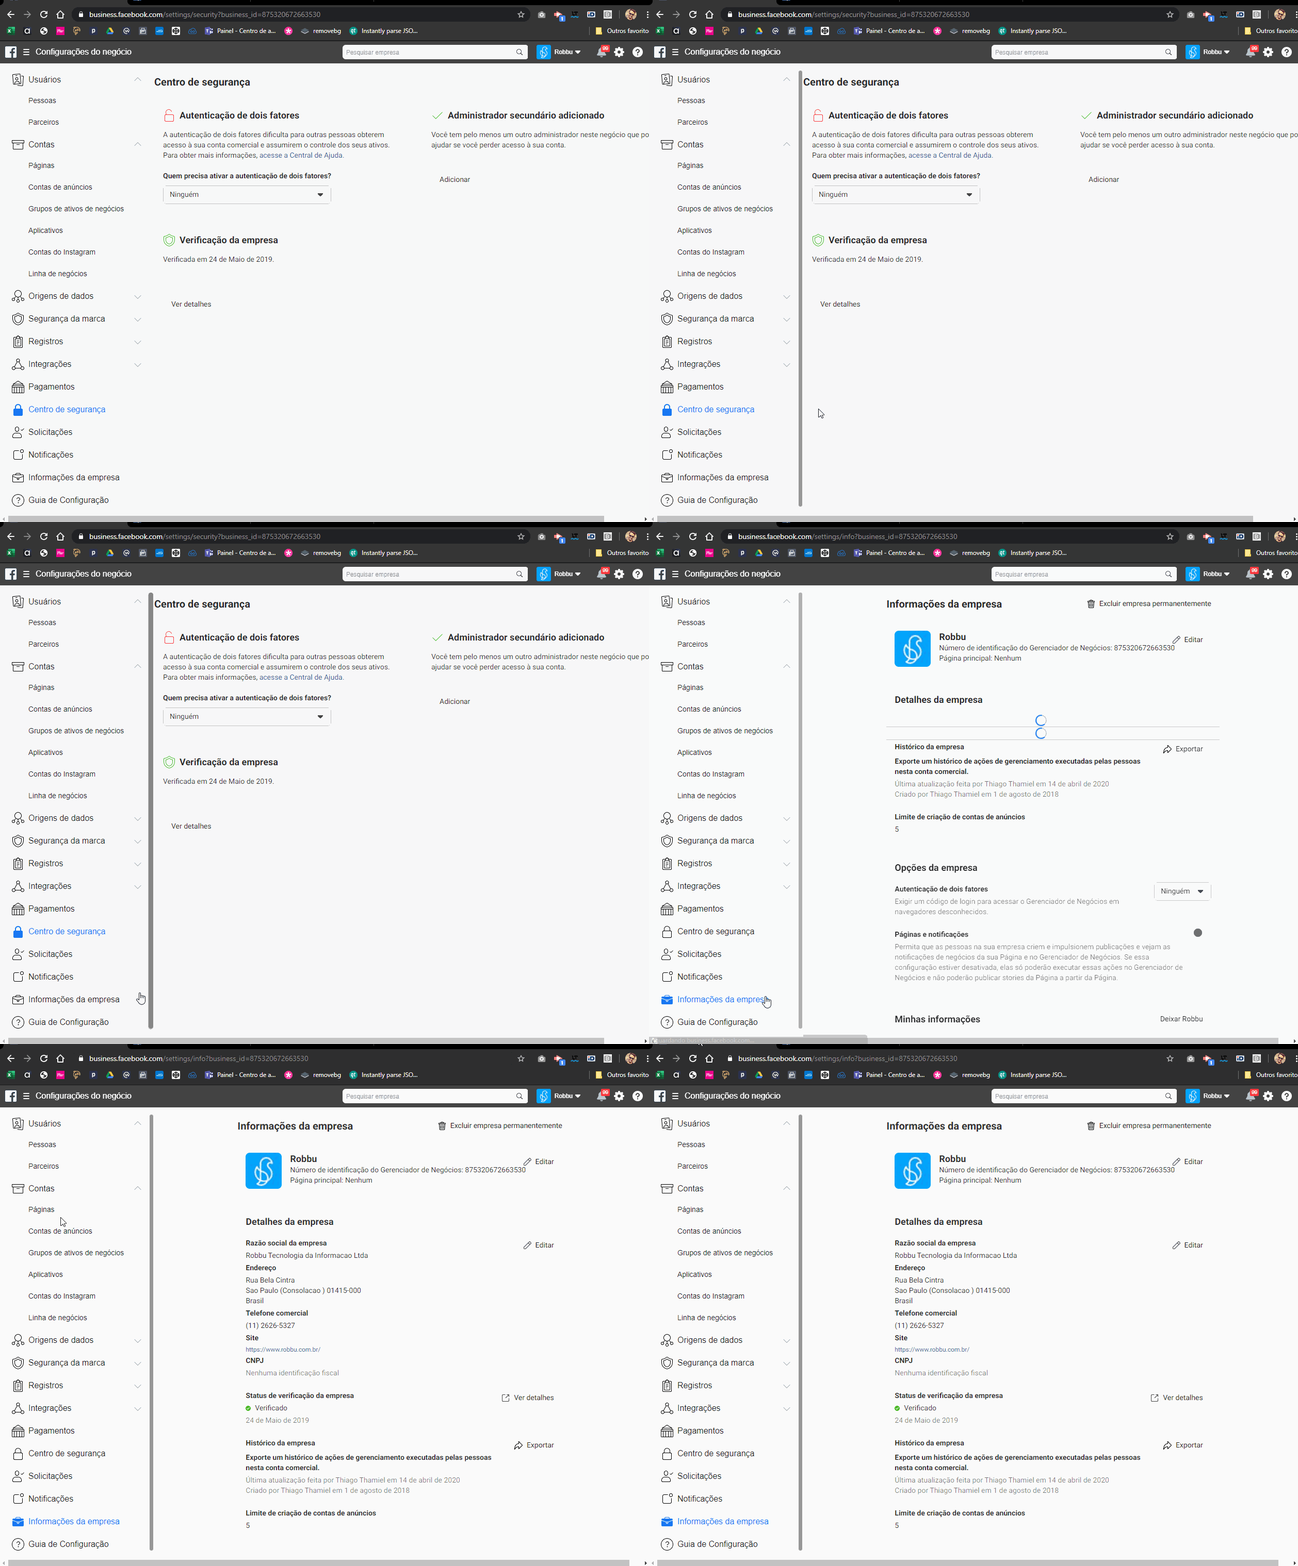
Approving the Request - Accept Positus as Your Business Partner
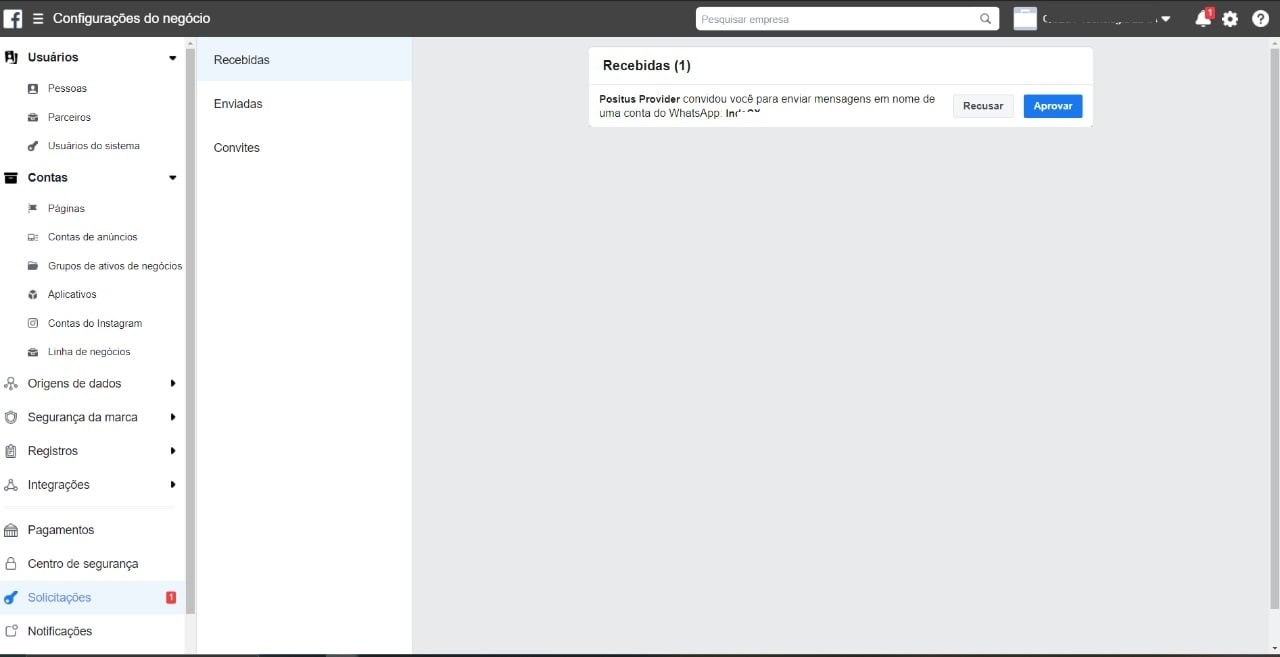
After sending your details to Positus, we will register your company as a business partner. At that moment, you will receive a notification on your Facebook Business page. We can only proceed with the activation of your number after you approve it.Go to https://business.facebook.com/ >> “Business Settings” >> “Requests” and click “Approve”.
Official Facebook Documentation: